When you work with plywood, cutting into the wood can cause issues like tear-outs, and splinters.
So inevitably, (especially if you want to stain and finish plywood), you are going to need to sand down its surface – and smooth out those rough edges.
But those veneer ply layers can make sanding a bit tricky. So what is the best way to go about sanding plywood?
The best way to sand plywood is to manually work over its surface with 180 grit sandpaper. Move the sandpaper in steady strokes along the grain (not against it).
If the plywood surface needs more sanding, switch to a finer grit sandpaper, and go over the plywood again.
Now, obviously, there is more to sanding plywood than just giving the wood a quick once over (if only life were that easy!).
So keep reading to learn how you can make rough plywood smooth and shiny…
This post may contain affiliate links to products that we receive a commission for (at no additional cost to you). Learn more here.
Can Plywood Be Sanded?
Luckily, (and this goes out to anyone who might be worried about this), plywood can be sanded just like any other hardwood or softwood.
And this is good news, because sanding down wood surfaces is important if you want to achieve a smooth and even paint job.
Note: If you try to paint or stain rough wood, it can be difficult to get the brush to evenly coat the surface. In other words, trying to add any kind of finish to rough lumber often ends up looking messy.
What Is Sanded Plywood Used For?
Sanded plywood is used on a vast range of furniture items such as tables and cabinets. It is also used on interior design structures such as shelves and wall panels.
Sanded plywood, in particular, is popularly used for making furniture because it is the highest graded plywood you can get.
You see, plywood is graded according to the attributes of the wood.
There are four main plywood grades, with the highest graded plywood being ‘A’ grade. This plywood is characterized by having been sanded smooth, and being pretty much ready-to-go for painting and finishing.
The lowest grade plywood, however, is ‘D’ grade. This plywood type is typified by its knots, splits, and generally shabby state (splinters, etc).
There are also composite grades such as AB, BC, CD, etc. These types of plywood grades refer to the fact that they are two different graded plywood sheets glued together.
The first letter represents the ‘Face’ plywood sheet and the second letter represents the ‘Back’ veneer sheet.
So, How Do You Sand And Make Plywood Smooth?
If you want to make plywood smooth, you are going to need to do the following three things; 1 – Wipe Down The Surface, 2 – Sand The Surface (Twice!), and 3 – Fill In Any Gaps.
Wipe Down The Surface
Before you start work on sanding down the plywood, you want to remove any excess saw dust from it.
This part is simple enough. Using a slightly dampened cloth (or if there are a lot of splinters, using a vacuum to suck up the dust/dirt), will get the job done.
Sand The Surface
Next up, you are going to need a bit of sandpaper… and a fair bit of elbow grease.
Using sandpaper with a grit of 180 to 220, you will need to lightly but steadily, sand down the plywood whilst all the while making sure you don’t stroke against the grain.
Fill In Any Gaps
After you’ve sanded, it is time to go over the wood grain to look for any gaps in the grain or voids along the edge.
If you find any, then you will need to use wood putty to fill those in and fix those gaps.
Any decent over-the-counter all purpose wood filler will do, so long as it drys quickly.
However, you don’t want to use a wood filler that – once dry – becomes so rigid and stiff it is difficult to sand afterward.
If you want a wood filler that you can buy in a range of natural colors, then opt for Minwax’s High Performance Wood Filler. Its fast drying (under 15 minutes) and can still be sanded afterward.
Check out the current price for this Wood Filler over on Amazon.
Sand The Surface Again!
Once the wood filler dries, (side note: Minwax Wood Filler is ready to sand within 30 minutes), its time to give the surface another light sand in preparation for polishing…
How To Polish Plywood
Sanding down plywood is one thing, but how do you go about giving the wood that really shiny polished look?
Well, first off, you will need to remove all of the grit left behind from sanding it.
Simply wiping down the wood with a Tack Cloth is needed here.
What Is Tack Cloth? This is basically a type of cloth that is made with ‘tacky’ material, designed for removing loose bits of dirt, lint or dust.
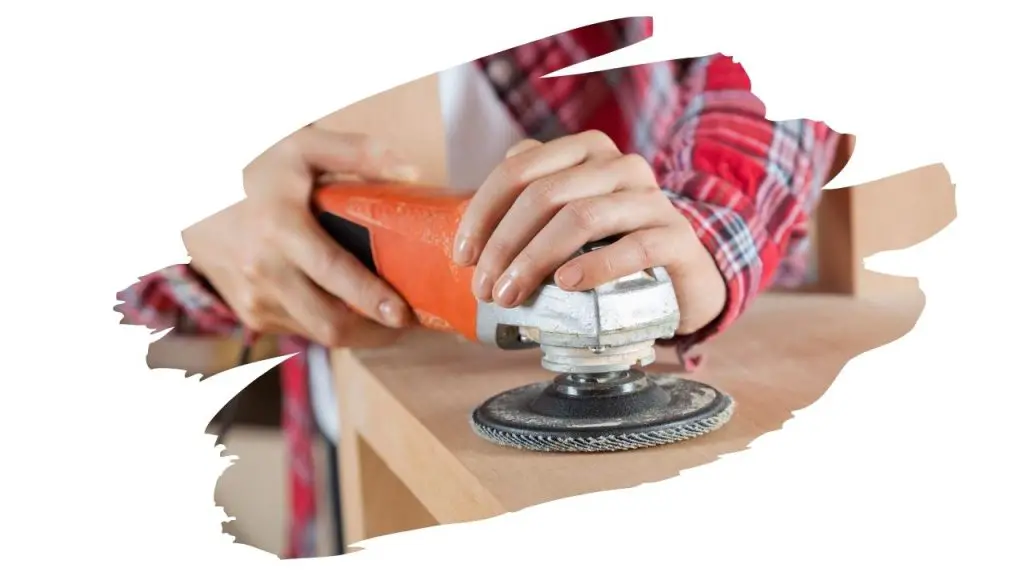
After thats done, its time to switch from manual sanding to powered sanding.
Using a palm-sander (also known as a hand sander), you are going to attach a low 80 grit sandpaper disk to it.
Once you turn on the palm sander, glide it back and forth on the plywood surface, but always take care to work the sander with the grain.
NOTE: Don’t apply any pressure to the sander, the weight of the tool itself will be more than sufficient.
Now, when the sanding job is done, wipe it again with the tack cloth, and it should now be smooth enough to take on sealant or stain.
Final Thoughts
Plywood, (before being stained, sealed, or painted), will always need to be sanded down first.
Thankfully, sanding it is a pretty straightforward process;
1). Wipe down the surface (cleaning it of dirt and dust).
2). Sand down the surface using 180 grit sandpaper.
3). Afterward, fill in any gaps with wood filler.
4). Sand down the surface again, (this time using 220 grit sandpaper), until smooth.


